

Does your kitchen feel like it has more chaos than coziness? If so, you're not alone! Clutter creeps into every space, whether you have a huge kitchen or a small cooking corner. The good news? You don't need to hire a professional or spend top dollar on organizers. Creativity and resourcefulness allow you to rearrange and organize your cluttered kitchen into a more functional, fashionable, and enjoyable space.
This complete guide aims to organize a cluttered kitchen without breaking the bank. It achieves this through well-practiced budget-friendly techniques using everyday household items. Renters, home cooks, or those trying to maximize a limited kitchen area will benefit from these budget-friendly concepts. However, these strategies are all about working smarter, not harder.
An organized kitchen saves time, lowers stress, and makes cooking enjoyable. Clutter can lead to us buying duplicates, expired food, and dangerous accidents. When you declutter and organize your kitchen, you will not only be more efficient, but you will also be creating space physically and mentally.
As an organizer, I run across many clients who live in small homes or rental apartments, and learning how to organize a small kitchen on a budget can be life-changing! Let's take these necessary, budget-conscious steps to make decluttering your space possible while making the crazy mess become ordered!
Before putting bins and baskets into your new organized kitchen, you should fully audit what you have to declutter.
Decluttering is a free first step in organizing your kitchen. You may even find that you won't need as many organizers as you initially thought!
Recycling everyday items is one of the best low-cost kitchen organization tips.
These solutions are beneficial for renters who can't attach anything permanent. Remember, kitchen storage ideas for rental spaces should be flexible, free, or low-cost.
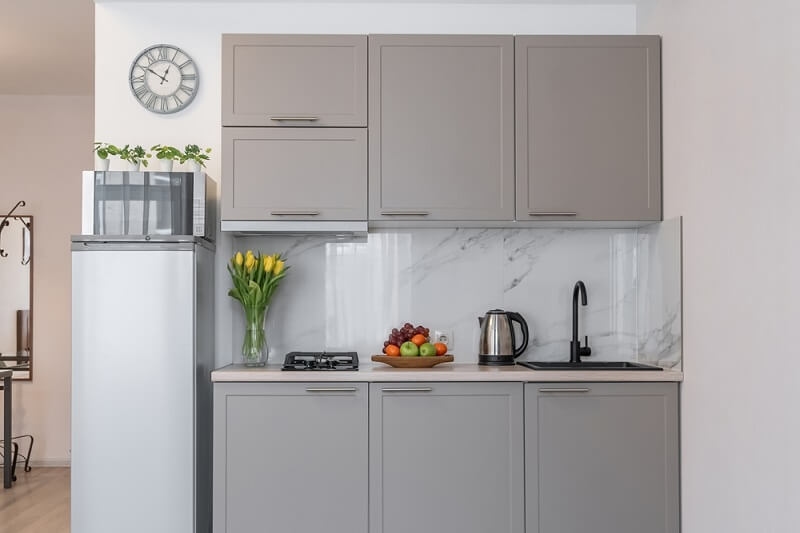
Small kitchens demand smart space usage. Think up, not out.
Remember the inside of cabinet doors or the sides of the fridge—these overlooked areas can serve as prime storage space.
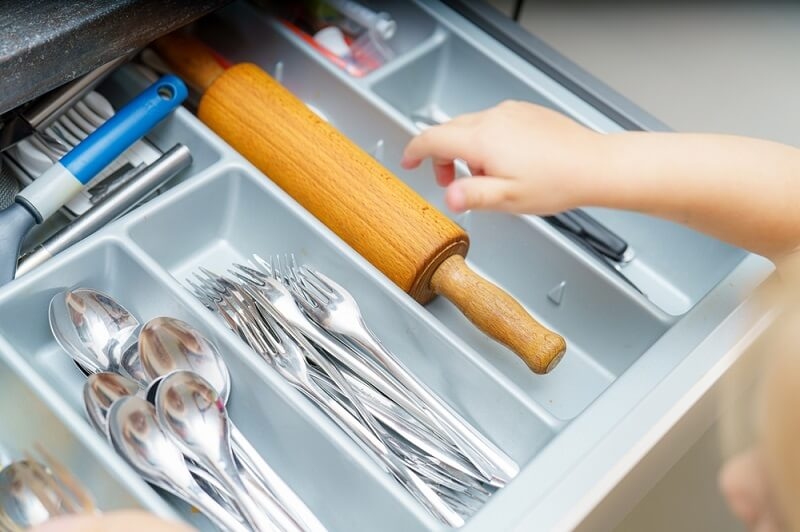
A common organizational mistake is storing everything together, regardless of how often it’s used.
This tip applies whether you're in a large home or trying to organize a small kitchen on a budget. Reducing reach and rummage saves time and hassle.
Labels take the guesswork out of finding what you need. They're also inexpensive and easy to DIY.
Labeling jars, baskets, and bins helps others in your household follow the system, making it easier to maintain your clutter-free space.
Think like a restaurant kitchen—group items by task or purpose.
By setting up zones, you streamline your workflow and keep counters clear. This is one of the top kitchen space-saving solutions that professional organizers recommend.
A few strategic purchases can go a long way even when sticking to a tight budget.
Pro tip: Shop secondhand, check online marketplaces, or repurpose items before buying new.
The real challenge isn’t organizing—it’s keeping things organized. But with a bit of intention, your new system can last.
The more effort you put into maintaining your organized kitchen, the less work it will require.
If you're a renter or someone who doesn’t want to make permanent changes, these kitchen storage ideas for renters can help:
These options keep your security deposit safe while giving your kitchen a fresh, functional feel.
Organizing a kitchen doesn’t have to be perfect, but avoiding these pitfalls will help:
You don't need a loaded bank account or designer containers to create a practical kitchen. When you use what you have, intentionally set up your workspace, and stay simple, your kitchen can be peaceful instead of disarrayed. From decluttering tips for home cooks to inexpensive kitchen organization hacks that work, organizing your kitchen on a budget is entirely possible—and powerful.
Whether you are a college student, a renter, or an experienced home cook seeking a refresh, these strategies will equip you to transform your cluttered kitchen into a space that truly matches your lifestyle.
This content was created by AI